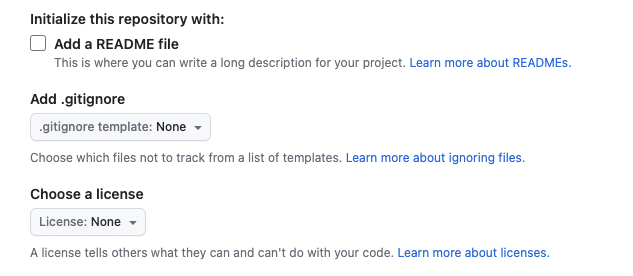
Then, create a new repository on GitHub.com. Do not initialize the new repository with README, license, or gitignore files.
At the top of your repository on GitHub.com’s Quick Setup page, click the clipboard to copy the remote repository URL.
In your terminal of choice, navigate to the root of your Quartz folder. Then, run the following commands, replacing REMOTE-URL with the URL you just copied from the previous step.
# list all the repositories that are trackedgit remote -v# if the origin doesn't match your own repository, set your repository as the origingit remote set-url origin REMOTE-URL# if you don't have upstream as a remote, add it so updates workgit remote add upstream https://github.com/jackyzha0/quartz.git
Then, you can sync the content to upload it to your repository. This is a helper command that will do the initial push of your content to your repository.
npx quartz sync --no-pull
fatal: --[no-]autostash option is only valid with --rebase
You may have an outdated version of git. Updating git should fix this issue.
fatal: The remote end hung up unexpectedly
It might be due to Git’s default buffer size. You can fix it by increasing the buffer with this command:
git config http.postBuffer 524288000
In future updates, you can simply run npx quartz sync every time you want to push updates to your repository.
Flags and options
For full help options, you can run npx quartz sync --help.
Most of these have sensible defaults but you can override them if you have a custom setup:
-d or --directory: the content folder. This is normally just content
-v or --verbose: print out extra logging information
--commit or --no-commit: whether to make a git commit for your changes
--push or --no-push: whether to push updates to your GitHub fork of Quartz
--pull or --no-pull: whether to try and pull in any updates from your GitHub fork (i.e. from other devices) before pushing